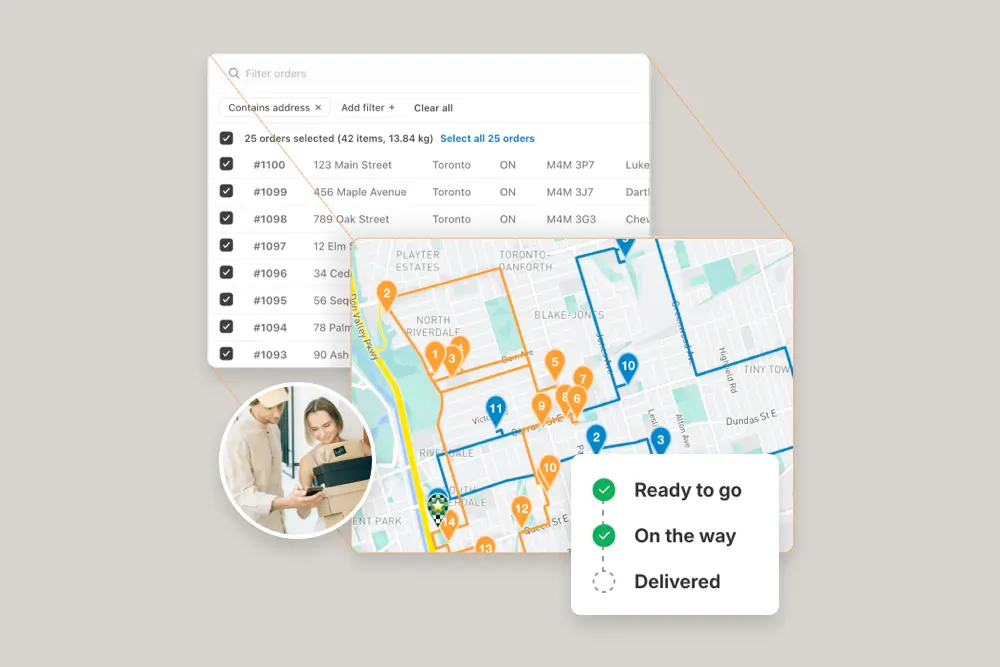
Import or draw custom territories on the map, and let EasyRoutes automatically create routes with only the orders that belong to each zone.

Smart Delivery Zones let users create routes by geographical territory, taking the guesswork out of route planning. Simply draw custom shapes on the map to define where you deliver, name each zone, and choose a route colour. When you’re ready to plan, toggle on the Delivery Zones option to limit routes to orders inside a selected zone - any orders outside the boundary are held for review so nothing gets lost.
Edit your zone's shapes later, archive zones you no longer use, or import KML files created or exported from external tools to get up and running fast. For multi-territory delivery days, pair your zones with Route Groups to spin up multiple routes at once, with each confined to its own zone and ready to dispatch. It’s a clear, repeatable way to keep drivers on familiar ground and deliveries on schedule.


Yes. Draw custom delivery zones on the map to select orders in a specific geographical area, and reuse the same workflow whenever you plan routes for the same local area.
See: Delivery Zones
Yes. Filter by delivery date, zone, status, location (ZIP/postal code, city, country, custom zones) and more criteria to select only the orders you need.
See: Order Filters
Yes. Route Groups let you create, monitor, and dispatch multiple routes at once, and track all drivers within the group on one map view.
See: Route Groups
Yes. Manage deliveries for multiple depots/warehouses from one account. Create routes with different start/end locations and assign drivers per hub.
Yes. Set specific start/end locations per route to represent different depots or driver home bases and plan accordingly.
Yes. Enable Balance routes to distribute stops as evenly as possible across multiple routes/drivers while respecting other route constraints (like time windows, or item/weight limits).
See: Balance routes · How many routes?
Yes. Open a Route Group to view multiple live driver locations and statuses on one screen; each driver pin is colour‑coded by route.
In Settings > Delivery Zones, click Create zone, use the polygon tool to trace your area, close the shape, then name it and pick a route colour. See: Delivery Zones
Yes. In Settings > Delivery Zones, use the Create zone dropdown, choose Import KML, and drop in your .KML file; zone names apply automatically. See: Delivery Zones
Yes. Open the zone in Settings > Delivery Zones, adjust its points on the map, rename it or change its colour, and save. See: Delivery Zones
Yes. Select zones in Settings > Delivery Zones and click Archive to remove them from your active list; use the filter to view and unarchive them later. See: Delivery Zones
Orders outside the selected zone’s boundary are held back for review rather than dropped, so you can route or reassign them separately. See: Delivery Zones
Yes to colour-coding — each zone has its own route colour. Drivers are assigned when you plan or dispatch each zone’s route (or via a Route Group), not to the zone itself. See: Delivery Zones